How to Sandblast a Classic Car Frame Without Destroying It
If you've ever watched someone blast a classic car frame with play sand at 150 PSI, you've seen the aftermath — warped panels, pitted metal, and a restoration that now costs twice as much to fix. Stripping a frame properly is one of the most important steps in any classic car build, and most guys get it wrong.
Here's how we approach it at Ridgeline Blasting.

The Goal: Bare Metal Without Damage
You want every bit of old paint, surface rust, and undercoating gone. But you also want the metal underneath to be structurally sound, dimensionally accurate, and ready to accept epoxy primer. That means controlling three things: media selection, air pressure, and dwell time.
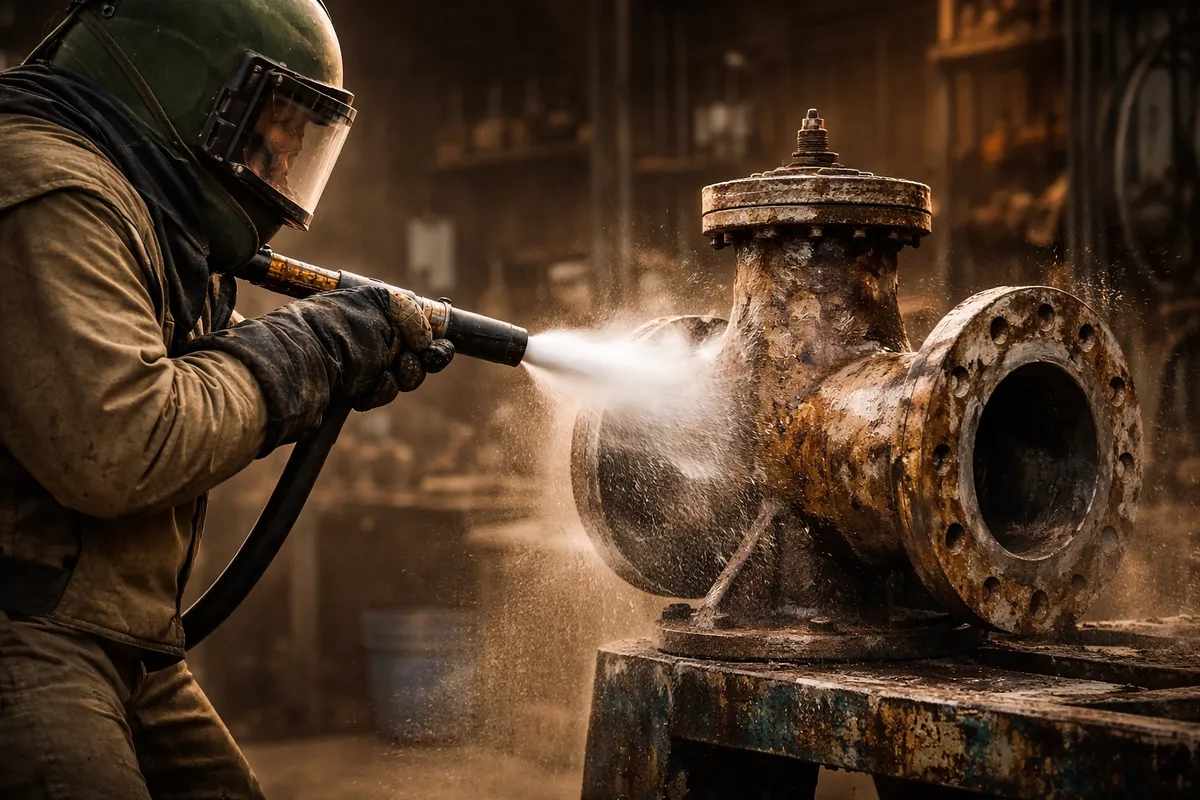
Media Selection Matters
For frames and structural components (boxed rails, crossmembers, suspension mounts), we use crushed recycled glass at 40/70 mesh. It's angular enough to cut through heavy coatings and mill scale, but it shatters on impact so it doesn't embed in the steel like silica sand does.
For body panels and thin gauge sheet metal (fenders, doors, quarter panels), we switch to glass bead or aluminum oxide at a finer grit. These are less aggressive and reduce the risk of heat warping on panels that are often 18-20 gauge steel — thin enough that concentrated blasting in one spot will buckle them.

PSI: The Number Everyone Gets Wrong
- Frames and heavy structural steel: 80-125 PSI. These are thick-walled components that can handle aggressive cleaning.
- Body panels and sheet metal: 40-60 PSI max. Keep the nozzle moving. Never park on one spot.
- Aluminum parts (intake manifolds, valve covers, trim): 30-50 PSI with glass bead only. Aluminum is soft and will pit instantly with crushed glass.
The guys who warp panels are almost always running too much pressure with too aggressive a media, holding the nozzle too close, or blasting the same spot for too long. The metal heats up from friction, expands unevenly, and warps. Once it's warped, you're looking at hours of hammer and dolly work or filler to fix it.
Surface Profile and Epoxy Adhesion
After blasting, the steel should have a uniform anchor profile of 1.5 to 3.0 mils. This is the microscopic roughness pattern that gives epoxy primer something to grip. Too smooth and the primer won't bond. Too rough and you'll see the texture through your topcoat.
We measure profile with a surface profile gauge after every job. If a shop isn't checking profile, they're guessing — and guessing means callbacks.
The Clock Starts After Blasting
Once bare steel is exposed, it starts flash rusting. In humid conditions (which is most of the year in the Northeast), you can see orange bloom within hours. The rule is simple: epoxy prime within 4 hours of blasting, or you're doing it again.

We coordinate with our clients' paint shops to make sure the frame goes straight from our booth to primer. No sitting overnight. No "we'll get to it Monday."
What We See Go Wrong
The most common mistakes we clean up after other shops:
- Using actual sand. Silica sand is banned in most states for abrasive blasting because it causes silicosis. If someone is blasting your car with sand, walk away.
- One pressure setting for everything. A frame rail and a door skin are not the same thing.
- No profile measurement. "It looks clean" is not a spec.
- Leaving bare metal exposed. Flash rust ruins the prep work you just paid for.
Bottom Line
Sandblasting a classic car frame isn't complicated, but it requires discipline. Right media, right pressure, right technique, and getting primer on it fast. That's the difference between a frame that holds paint for 20 years and one that's bubbling in 18 months.
If you've got a project that needs stripping, reach out. We'll talk through the specifics of your build and give you a straight answer on what it'll take.